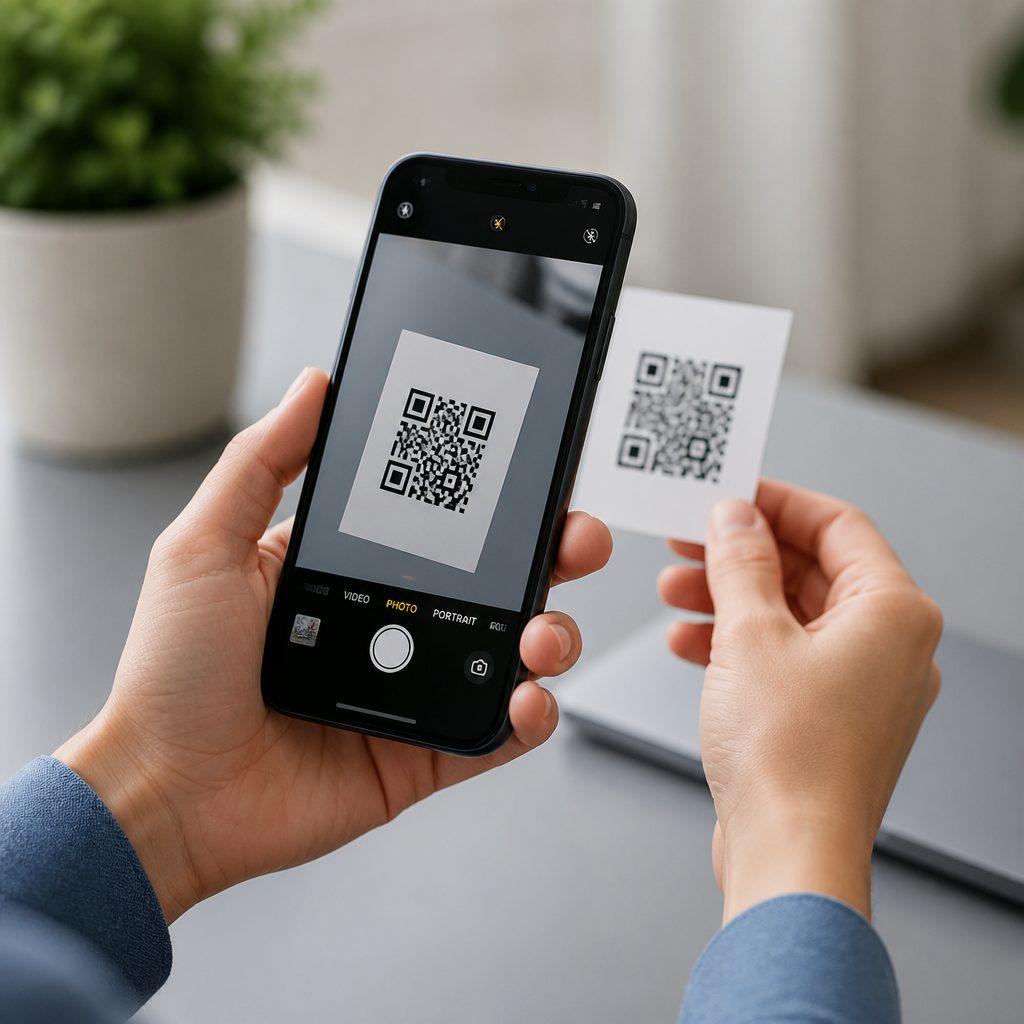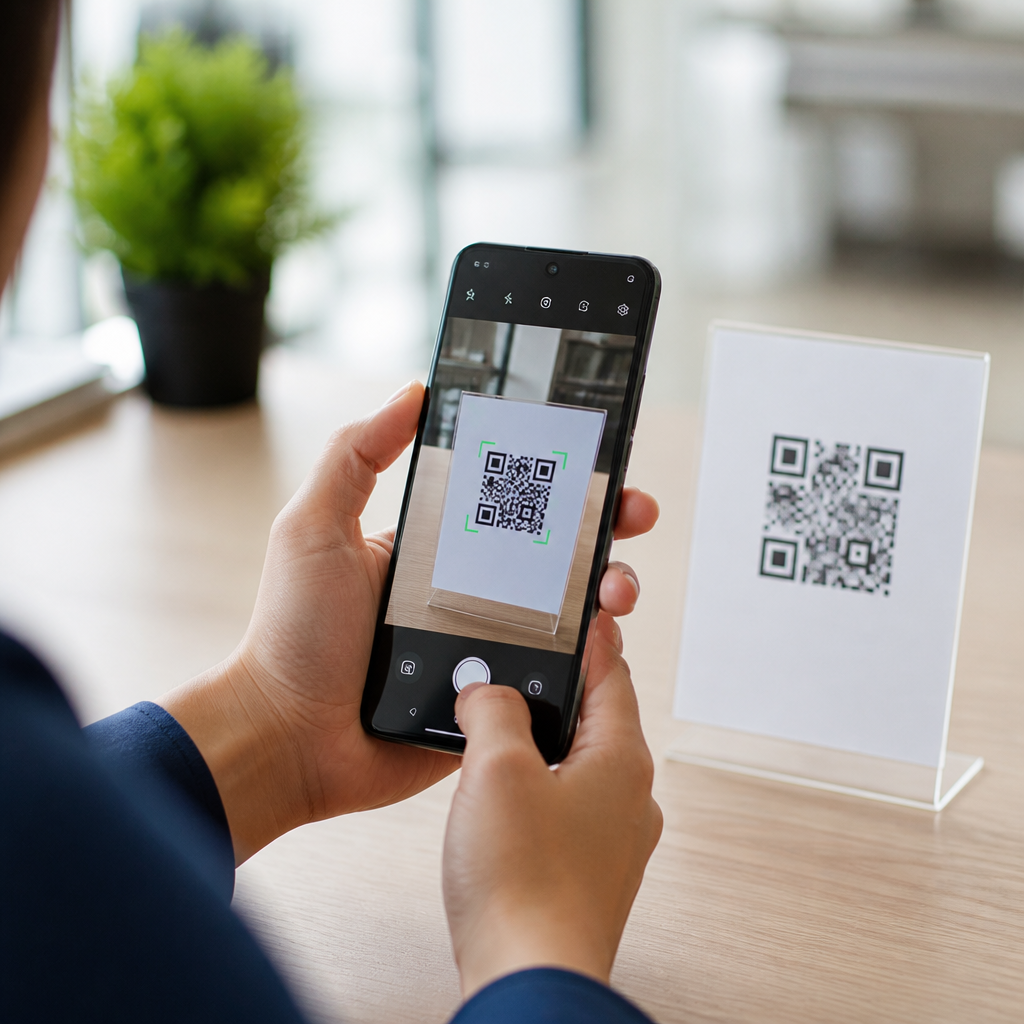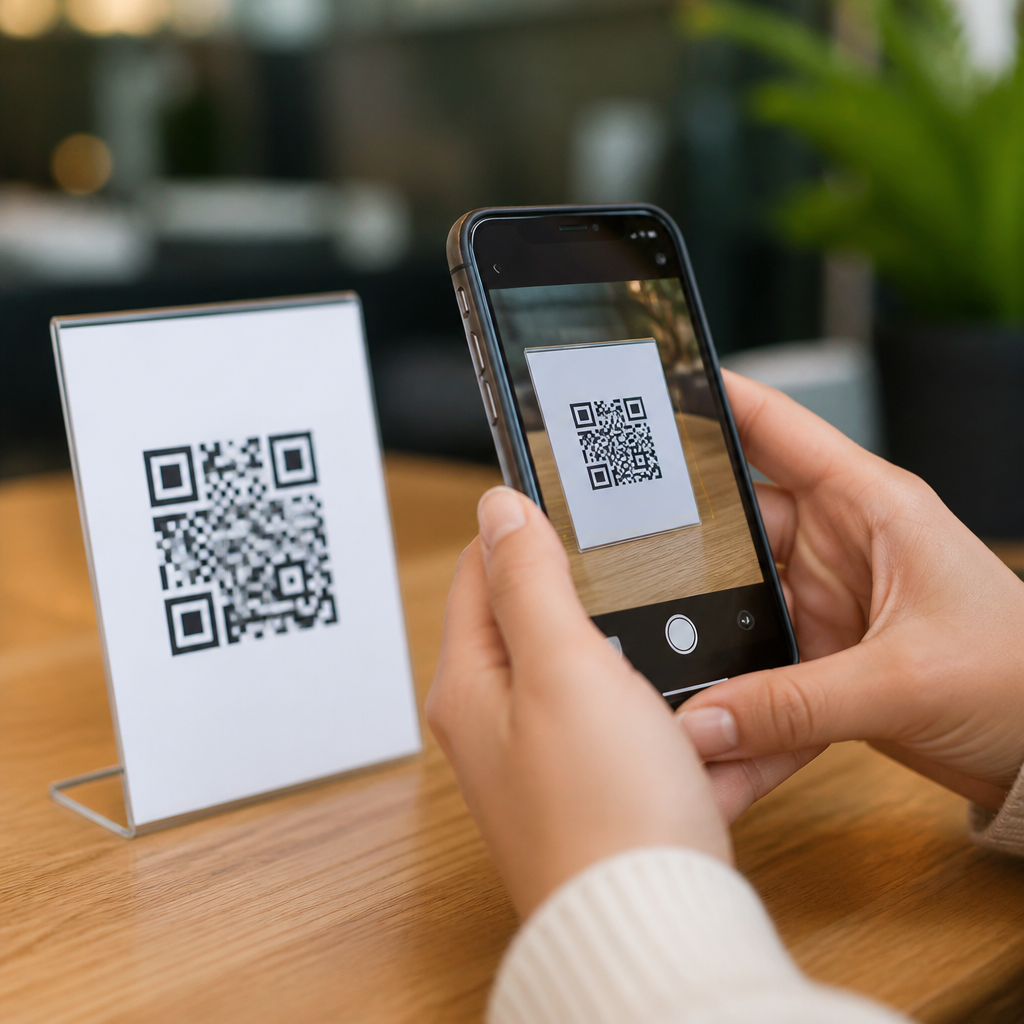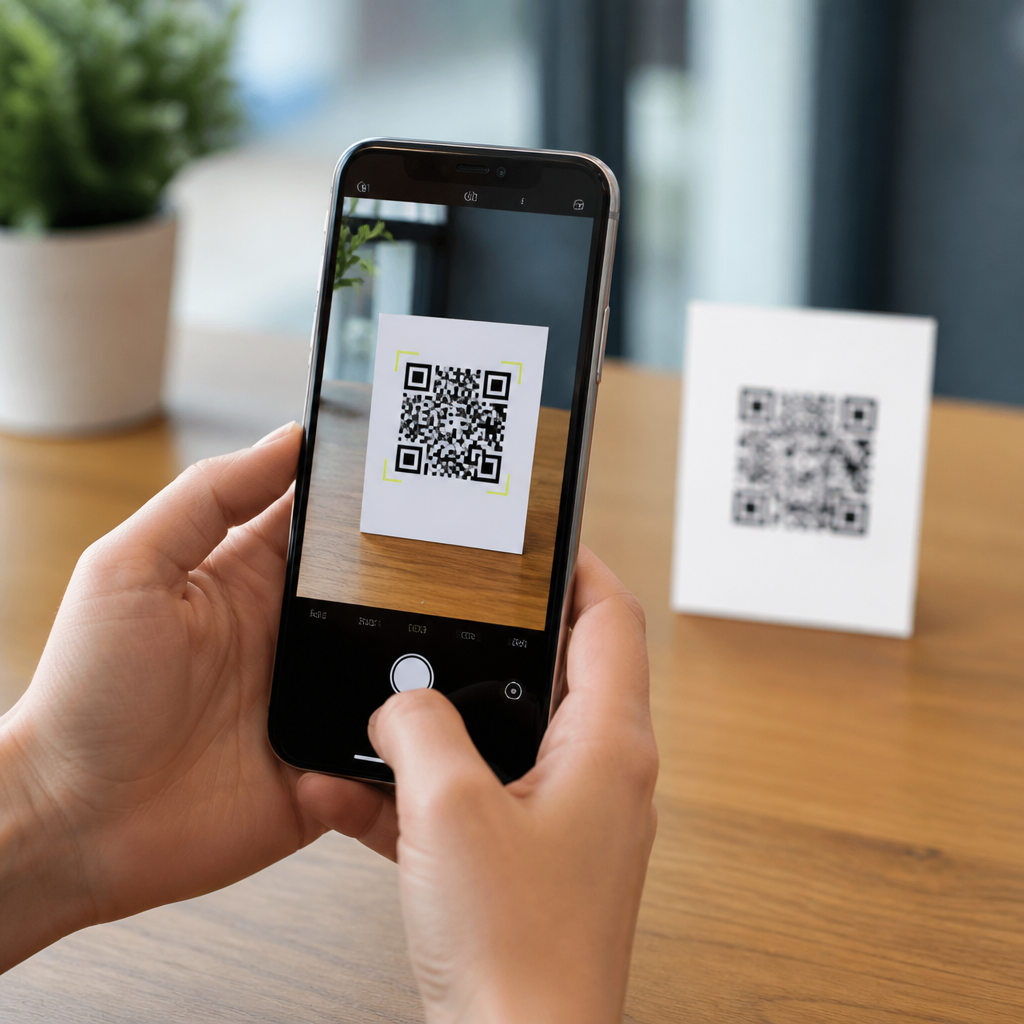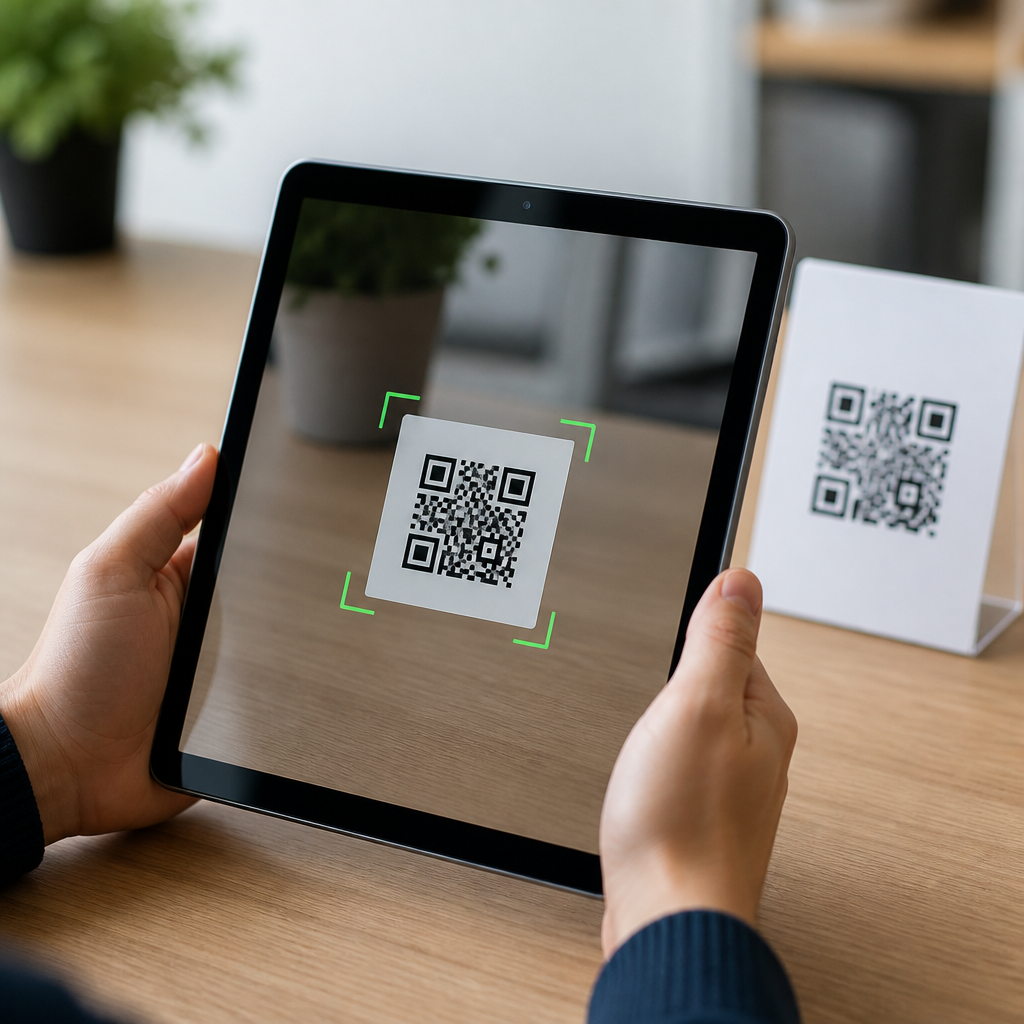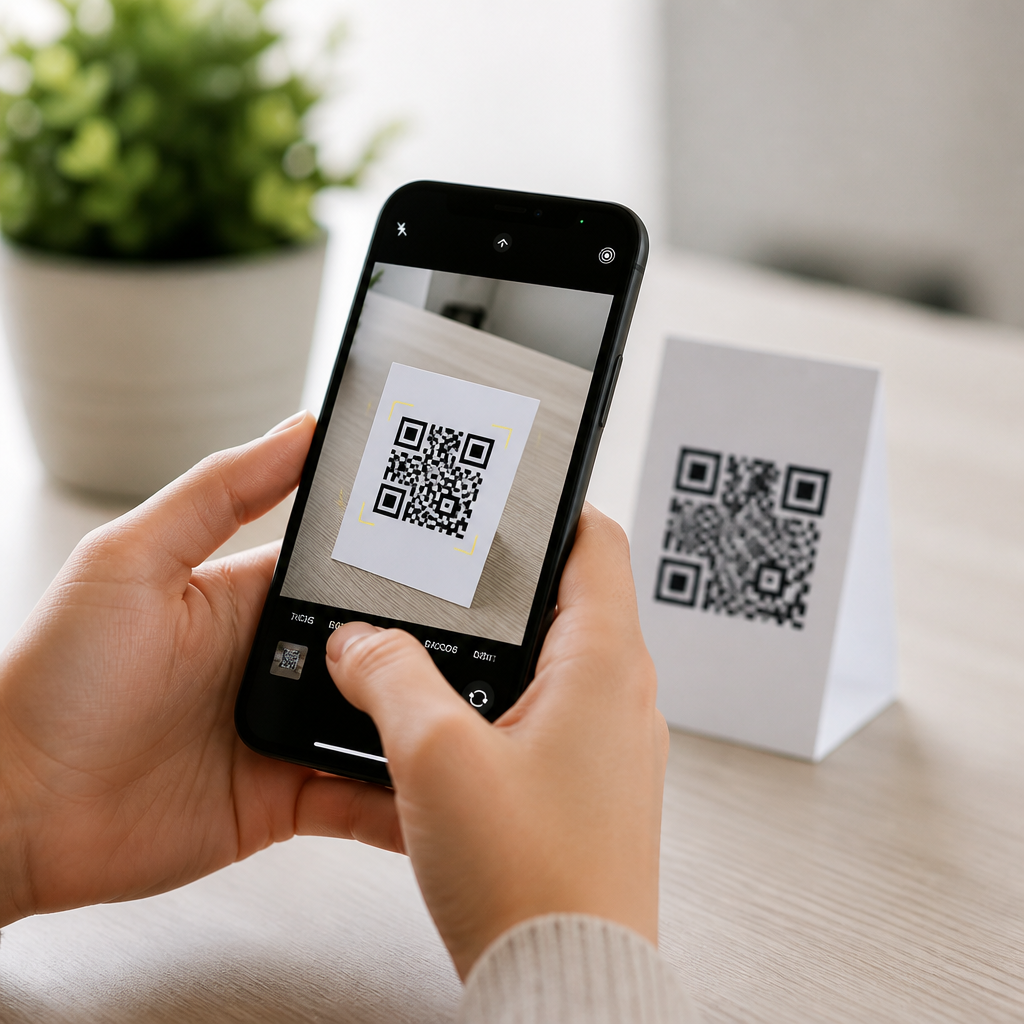
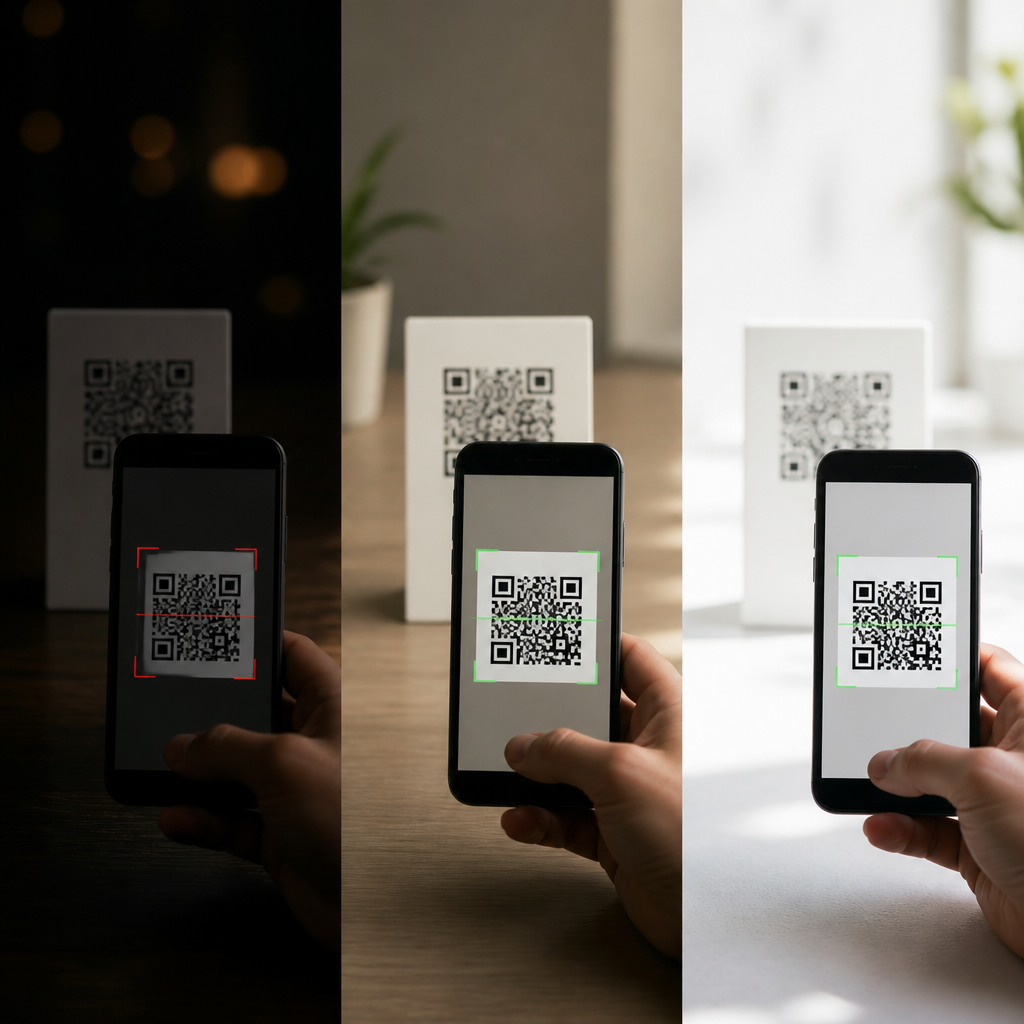
Lighting determines whether a QR code scan feels instant or impossible. In mobile scanning, the camera is not simply “reading squares.” It is capturing contrast, correcting exposure, locating three finder patterns, estimating perspective, and decoding error-corrected data from a small printed or on-screen symbol. When lighting is poor, uneven, or excessively bright, each of those steps becomes harder. I have tested QR codes on retail packaging, restaurant menus, warehouse labels, event badges, and phone screens, and lighting is one of the most common reasons a perfectly valid code fails in the real world.
To troubleshoot QR code scans effectively, it helps to define the core variables. Ambient light is the general light in the environment. Glare is specular reflection that creates bright hotspots, especially on glossy paper, laminated signs, and screens. Low light reduces edge contrast and forces the camera to use slower shutter speeds or higher ISO, which can introduce blur and noise. Overexposure washes out dark modules, while underexposure crushes detail in lighter areas. Good scanning depends on a clean contrast ratio between dark and light modules, stable focus, and enough resolution for the camera to separate individual squares.
This topic matters because QR codes now support payments, ticketing, authentication, product information, Wi-Fi access, and customer journeys across nearly every industry. A failed scan is not just a minor inconvenience. It can delay checkout, block account login, slow field operations, or reduce marketing conversions. Troubleshooting QR code scans therefore starts with lighting, but it cannot end there. Distance, code size, print finish, screen brightness, error correction level, camera quality, and scanning software all interact with light. As the hub for troubleshooting QR code scans, this article explains how lighting affects performance, what problems to look for, and which fixes work fastest in practice.
Why lighting changes scan performance
A smartphone camera scans a QR code by detecting boundaries between dark and light modules. That means contrast is the foundation of reliable reading. In dim environments, the camera may increase ISO sensitivity, which adds grain that softens edges. It may also drop to a slower shutter speed, making small hand movements blur the code. In harsh direct light, the opposite problem appears: bright reflections or clipped highlights can erase the pattern. Both conditions reduce the decoder’s ability to identify finder patterns and alignment data accurately.
Modern phones use autofocus, autoexposure, and image signal processing to compensate, but those systems are not magic. They optimize for the overall scene, not the QR code alone. A black code on a white label under warehouse LEDs may scan well, while the same label behind plastic wrap can fail because reflections fool exposure and focus. On-screen codes can also struggle when the display is dimmed, cracked, or covered with fingerprints. The practical rule is simple: the camera needs even, sufficient, indirect light and a code with strong local contrast.
Common lighting problems that break scans
The most frequent issue is low light. In bars, parking garages, theaters, delivery vestibules, and back-of-house stockrooms, users often point a phone at a code that looks visible to the eye but appears muddy to the sensor. Human vision adapts well to darkness; cameras are less forgiving. Another common problem is glare from overhead lighting or sunlight. Glossy menu cards, laminated posters, and curved bottles reflect bright streaks that cover part of the symbol, especially the quiet zone around the edges that scanners need to isolate the code.
Uneven lighting creates partial failure. One side of the code may be bright and sharp while the other falls into shadow, leading to inconsistent scans. Backlighting is another trap: a code placed in front of a bright window or digital signage wall can appear as a silhouette, causing underexposure. Screen-related lighting issues also matter. If a QR code is displayed on a phone with low brightness, night mode tinting, privacy screen filters, or PWM dimming artifacts, another device may struggle to lock on. In each case, the code itself may be valid, but the lighting environment makes it unreadable.
How to troubleshoot QR code scans step by step
When a scan fails, isolate lighting first because it is the fastest variable to change. Increase ambient light, reduce reflections, and adjust the angle before reprinting or regenerating the code. In support workflows, I usually test the same code under indirect daylight, under office LEDs, and on a different device. If the code scans in one condition but not another, the issue is environmental rather than structural. This approach prevents unnecessary redesign work.
| Symptom | Likely cause | Fastest fix |
|---|---|---|
| Camera hunts but never locks | Low light or motion blur | Move to brighter light, steady the phone, increase distance slightly |
| Code scans only at one angle | Glare on glossy surface | Tilt the phone or code to remove reflection |
| Screen code will not scan | Low screen brightness or dirty display | Raise brightness, clean the screen, disable tint modes |
| Only some phones can scan | Marginal contrast or small module size | Enlarge the code, darken foreground, improve lighting |
| Code works indoors but not outdoors | Direct sun washout or shadow contrast | Use matte material, reposition sign, add shade |
After lighting adjustments, check distance and framing. Many users press too close, which prevents focus, especially on older cameras with longer minimum focus distances. Step back until the entire code fills roughly one-third to one-half of the frame. Clean both camera lens and code surface. If the code is printed, inspect for low ink density, dot gain, smudging, or damage to finder patterns. If the code is digital, test at full brightness and native resolution. Finally, try a different scanning app or the phone’s built-in camera, since decoders vary in tolerance and image preprocessing.
Best lighting conditions for printed and on-screen QR codes
For printed QR codes, diffuse front lighting is ideal. Indirect daylight near a window often performs better than direct sun because it preserves contrast without creating hotspots. Matte paper and non-reflective coatings are consistently easier to scan than gloss laminates. In retail shelf talkers and packaging, I prefer high-opacity black on a clean white background with a generous quiet zone, because lighting imperfections are inevitable in stores. If a code will be scanned outdoors, test at midday sun, early evening, and cloudy conditions; each creates different reflection behavior.
For on-screen QR codes, bright and neutral display output matters most. Raise screen brightness to at least a comfortable daylight level and avoid strong color inversion, blue-light filters, or battery saver dimming when possible. OLED displays can show deep blacks, which helps contrast, but cracked glass or smudges can still interrupt pattern detection. Kiosks and self-service terminals should use high-brightness panels and maintain enough on-screen code size that modules remain distinct from typical scanning distances. Whether print or screen, the goal is uniform illumination without bright specular interference.
Design and material choices that reduce lighting sensitivity
Good QR code design makes lighting less of a risk. Start with adequate size. A practical rule is to increase physical size as scanning distance increases; tiny codes are far less tolerant of dim conditions because each module occupies fewer pixels. Maintain strong luminance contrast, not just color difference. Dark navy on black may look stylish but fails under weak light. The quiet zone should be at least four modules wide, as required by QR standards, because clutter near the border becomes more problematic when lighting is uneven.
Error correction can help, but it is not a license for poor production. Higher levels such as Q or H allow recovery from some obstruction or damage, yet they also increase symbol density, which can make very small codes harder to scan. Material selection matters as much as encoding. Matte labels, etched metal with dark fill, and anti-glare acrylic covers outperform glossy varnish in difficult environments. In logistics and manufacturing, I have seen otherwise robust labels fail simply because clear protective film added reflections. Testing the final substrate under real lighting is more valuable than reviewing artwork on a monitor.
Device, software, and environment factors beyond lighting
Lighting is the main variable, but troubleshooting QR code scans comprehensively requires looking at the full stack. Camera hardware differs widely. Premium phones use larger sensors, optical image stabilization, and better HDR processing, while older budget devices may struggle in moderate light. Software also matters. Apple’s Camera app, Google Lens, Zebra DataWedge, and dedicated retail scanners use different detection pipelines and may disagree on borderline codes. If a campaign targets the general public, test across iPhone and Android generations rather than relying on one office device.
Environmental wear can mimic lighting problems. Wrinkled labels, curved bottles, scratched acrylic, condensation, and dirty screens distort geometry or reduce local contrast. Placement matters too. Codes mounted too high, too low, or near reflective metal surfaces are harder to align quickly. For a troubleshooting program, document failure context: device model, operating system, app used, time of day, material, and exact location. Patterns emerge quickly. You may find that “bad scans” are really an installation issue on glossy surfaces near spotlights, or a screen brightness policy on kiosks after power-saving updates.
Building a practical troubleshooting process
The most effective teams treat QR scan failures like a repeatable quality problem, not random user error. Create a short checklist for staff: check light, remove glare, clean lens, adjust distance, raise screen brightness, test another device, then inspect the code. For new deployments, run acceptance tests in the actual environment instead of a conference room. Restaurants should test dinner lighting, warehouses should test at aisle level, and outdoor signage should be evaluated in both sun and shade. Record pass or fail rates, not just anecdotes.
The key takeaway is straightforward: lighting affects QR code scanning because cameras decode contrast, not intent. When lighting is too dim, too harsh, or too reflective, even a standards-compliant code can fail. The best results come from combining proper illumination with strong design, suitable materials, and cross-device testing. If you manage printed labels, menus, kiosks, packaging, or mobile experiences, use this page as your troubleshooting hub and audit your codes under real conditions today.
Frequently Asked Questions
Why does lighting make such a big difference when scanning a QR code?
Lighting directly affects the camera’s ability to separate the dark modules from the light background of a QR code. A phone camera is not interpreting the code symbolically at first; it is capturing an image, adjusting exposure, finding edges, detecting the three finder patterns, correcting distortion, and then decoding the data. Every one of those steps depends on clear visual contrast. If the scene is too dim, the camera may raise ISO or slow shutter speed, which can introduce noise and blur. If the scene is too bright, reflective surfaces can create glare that washes out parts of the code. Uneven lighting can be just as problematic because one side of the code may be overexposed while the other remains too dark.
In practical use, this is why a code that scans instantly in one environment can fail repeatedly in another. Retail packaging under glossy store lights, restaurant menus near windows, warehouse labels in shadowed aisles, and event badges under mixed indoor lighting all create different image conditions for the scanner. The better the lighting preserves clean contrast and sharp edges across the entire code, the easier it is for the scanning app to decode it quickly and reliably.
Is low light worse than bright light for QR code scanning?
Both can cause failures, but they do so for different reasons. In low light, the biggest problem is that the camera struggles to capture a sharp, high-contrast image. Phones often compensate by increasing sensitivity, which adds grain, or by using a slower exposure, which makes motion blur more likely if the hand or subject moves even slightly. That blur softens the square edges and can make the finder patterns harder to detect. Small printed QR codes are especially vulnerable because there is less visual information to work with in the first place.
Bright light becomes a problem when it creates overexposure or glare. If strong sunlight or overhead lighting reflects off a glossy label, laminated menu, or phone screen, portions of the code may become blown out, meaning the camera sees bright patches where detail should exist. At that point, even a technically high-resolution image may be difficult to decode because the code’s structure is no longer fully visible. In real-world testing, bright but diffused light is usually the most scanner-friendly condition, while both dim environments and harsh reflections tend to slow down or prevent successful scans.
How does glare or uneven lighting interfere with QR code detection?
Glare and uneven lighting interfere with the geometric and contrast analysis that scanning software relies on. A QR code must present stable, distinguishable blocks of dark and light so the scanner can locate the finder patterns, measure module spacing, and correct perspective. Glare disrupts that by replacing real image data with specular highlights. Instead of a clean black square or white background, the camera may see a streak or hotspot that hides edges entirely. That can break the code’s visible structure enough to prevent detection before decoding even begins.
Uneven lighting creates a subtler version of the same issue. If one area of the code is heavily shadowed and another is intensely lit, the camera’s auto-exposure system has to choose a compromise. The result may be that dark sections become muddy while bright sections lose detail. This is common with wall-mounted signs under spotlights, packaging curved around cylindrical surfaces, or badges hanging at an angle. In those situations, repositioning the code, changing the viewing angle, or moving the light source can dramatically improve scan performance because it restores more consistent contrast across the full symbol.
What lighting conditions are best for fast, reliable QR code scanning?
The best conditions are bright, even, indirect light with minimal reflections. Soft natural daylight or well-distributed indoor lighting usually gives the camera enough illumination to maintain sharp focus, balanced exposure, and clean edge definition without creating hot spots. The ideal setup lets the entire code appear uniformly visible from corner to corner, with strong contrast between the dark modules and the background. Matte printed surfaces also tend to perform better than glossy ones because they reduce reflective interference.
For on-screen QR codes, brightness matters too. A screen that is too dim can reduce contrast, while a screen viewed under direct sun may produce glare that obscures the image. In practice, increasing device brightness and tilting the screen slightly often helps. For printed codes in business settings, placing codes away from direct overhead reflections, avoiding transparent covers when possible, and using adequate ambient light can make scanning feel nearly instant. When teams want dependable real-world results, they should test codes in the actual environments where customers or staff will use them rather than assuming a code that works well in the office will work equally well on a warehouse floor or at an outdoor event.
What can I do if a QR code will not scan because of lighting problems?
Start with the simplest fixes: improve the light, reduce glare, and steady the camera. Moving closer to a brighter area, turning on a light, or using the phone’s flashlight can help in dim conditions, especially for printed labels and menus. If glare is the issue, change the angle of either the phone or the code so reflections move off the surface. Even a small tilt can make a major difference. If the code is on a screen, increase the display brightness and wipe away smudges that may scatter light and soften contrast.
If you control the code itself, design and placement improvements can prevent recurring problems. Use strong contrast, avoid tiny print sizes, choose matte materials when possible, and keep the code away from folds, curves, and reflective laminates. Make sure there is adequate quiet space around the symbol so the scanner can isolate it more easily. In operational environments such as retail, logistics, hospitality, and events, it is worth testing codes under low light, mixed light, and bright overhead light before deployment. That kind of field testing reveals whether a code is robust enough for real users, not just for ideal conditions.