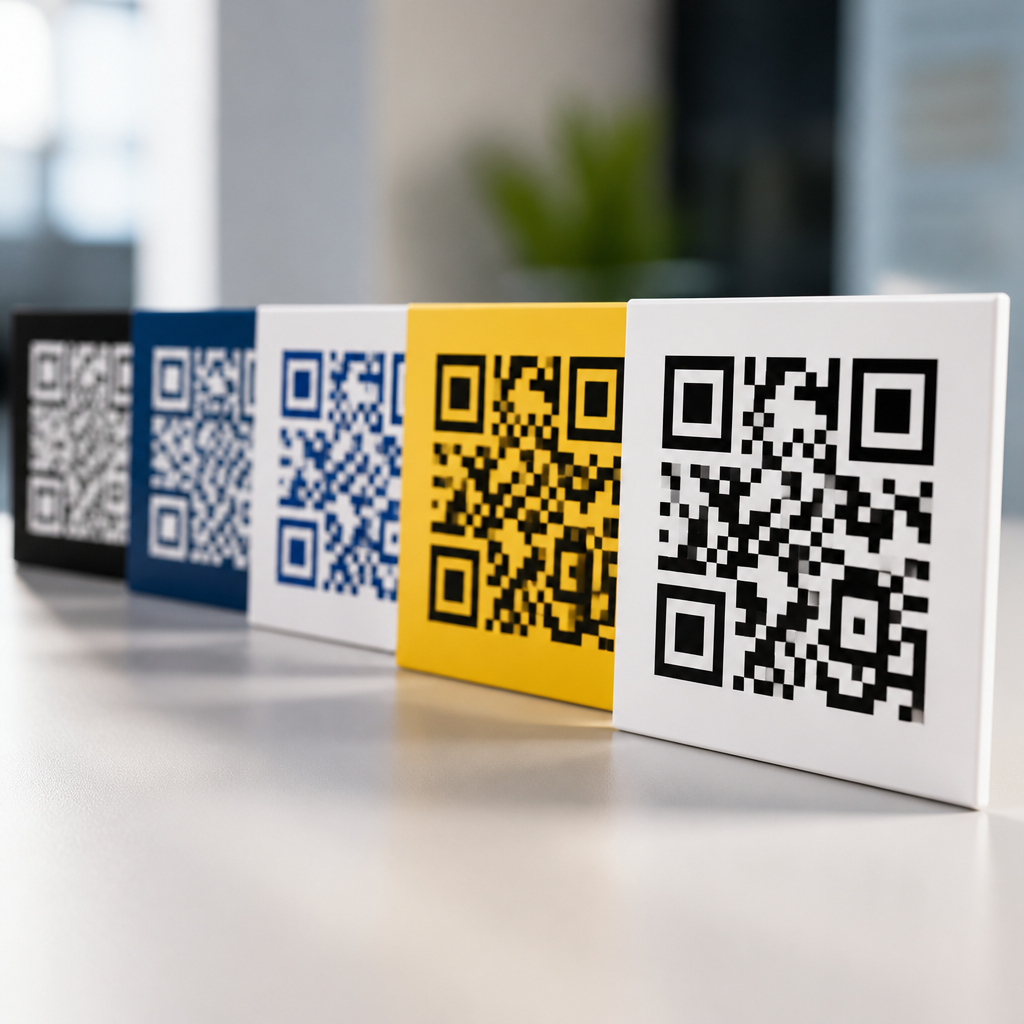

Using logos in QR codes without breaking scanability requires balancing brand visibility with machine readability. A branded QR code can improve recognition, trust, and campaign recall, but every design change affects how reliably phones decode the symbol. In practice, the best results come from treating the QR code as a functional interface element first and a brand asset second. That approach matters because QR codes now appear on packaging, restaurant tables, direct mail, retail displays, event badges, and product manuals, where a failed scan means lost revenue, weaker attribution, and frustrated users.
Branding with QR codes usually means adding a logo in the center, changing colors, styling modules, customizing the quiet zone, or embedding the code inside a larger graphic. Each adjustment changes the scanner’s job. A QR code works by encoding data into modules arranged within a square grid, then relying on finder patterns, alignment patterns, timing patterns, contrast, and error correction to recover the content. Error correction helps, but it is not permission to cover critical structure. I have tested branded codes across iPhone Camera, Google Lens, native Android camera apps, Zebra handheld scanners, and print proofs, and the same lesson repeats: attractive customization succeeds only when the underlying code remains easy to locate, isolate, and decode.
This article is the hub for branding with QR codes within mobile QR code design and UX. It explains what makes logo QR codes scan, when they fail, how much logo coverage is usually safe, what print and mobile conditions matter, and how to validate designs before launch. If you need a practical rule, start here: use high contrast, preserve the quiet zone, keep the logo small, choose a high error correction level only when necessary, and test across real devices at real distances. Those fundamentals protect scanability while still giving marketing teams enough room to express the brand.
How QR codes tolerate logos and where the limits appear
A QR code can survive some visual obstruction because of Reed-Solomon error correction. Standard QR codes support four levels: L, M, Q, and H, commonly described as restoring roughly 7 percent, 15 percent, 25 percent, and 30 percent of damaged codewords. Designers often interpret that as a safe logo coverage allowance, but that is incomplete. Error correction does not protect every visual area equally, and recovery depends on data density, mask pattern, print quality, glare, perspective distortion, and the scanner’s image processing. A centered logo generally works better than an off-center one because it avoids finder patterns in the corners, yet a large center mark can still interrupt dense data regions in smaller versions.
Version size matters. A short dynamic URL encoded in a Version 3 or Version 4 symbol with level H has more room for branding than a long static URL in a dense Version 8 code. That is why experienced teams use dynamic QR codes with short redirect domains: fewer encoded characters mean larger modules and more design tolerance. In production, I usually target the smallest data payload possible, then increase physical size before adding heavier styling. If marketing wants a prominent logo, reducing encoded complexity is often the cleanest way to get there without sacrificing reliability.
The safest interpretation is simple: error correction is a backstop, not a design budget. Covering 20 percent of the visible area with a logo does not guarantee successful scans, and covering 10 percent does not guarantee failure-free performance. Success depends on whether scanners can still detect position markers, maintain timing, separate dark and light modules, and reconstruct missing data under everyday conditions such as low light, fingerprints, curved packaging, and motion.
Core design rules for branded QR codes
The first rule is contrast. Dark modules on a light background still outperform most creative palettes. Black on white remains the benchmark because nearly every camera pipeline expects it. Brand colors can work, but the luminance difference must be strong enough that the code reads in grayscale, not just in full color. Deep navy on white is usually safe; pastel yellow on cream is not. Gradient fills are risky because they reduce consistency across the symbol, especially near the edges where detection starts.
The second rule is preserving the quiet zone, the empty margin around the QR code. ISO/IEC 18004 specifies a four-module quiet zone, and violating it is one of the most common causes of scan failure in otherwise attractive artwork. When a logo QR code is placed on packaging, posters, or menus, surrounding text, borders, icons, or background patterns often creep too close. Scanners need that clean boundary to separate the code from everything around it. From a UX perspective, protecting the quiet zone improves first-scan success more than most cosmetic enhancements.
The third rule is restraint with styling. Rounded modules, custom eyes, and embedded shapes can work, but they should not alter the three finder patterns so heavily that they lose their square geometry. Many generator tools offer decorative presets that look modern on screen and fail in print. I have seen codes pass desktop previews and then struggle on matte labels because softened edges, ink spread, and reduced contrast erased too much visual structure. A branded code should still look unmistakably like a QR code at a glance.
Best practices for adding a logo without hurting scan performance
The most reliable logo placement is centered, with enough padding around the mark to prevent visual collision with nearby modules. In plain terms, the logo should sit inside a clear knockout area rather than directly over busy patterns. That knockout should be modest, symmetrical, and smaller than most brand teams initially request. A practical starting range is keeping logo coverage near 10 to 15 percent of the total code area, then validating under real conditions. Some well-built codes tolerate more, but moving beyond that range requires disciplined testing, larger physical size, and a short payload.
| Design choice | Recommended practice | Why it helps scanning |
|---|---|---|
| Logo size | Start around 10–15% of total area | Limits obstruction while keeping the brand visible |
| Error correction | Use Q or H when a logo is present | Improves recovery from covered modules |
| Data payload | Use a short dynamic URL | Creates larger modules and lower density |
| Quiet zone | Maintain at least four modules of clear space | Helps scanners isolate the symbol |
| Color palette | Use strong light-dark contrast | Improves detection in varied lighting |
| Print size | Increase size before increasing logo area | Preserves module clarity at normal scan distance |
Shape and edge treatment also matter. A simple flat logo generally outperforms a detailed crest, thin wordmark, or transparent PNG with irregular internal holes. If the brand mark includes fine lines, convert it to a simplified icon for QR use. I recommend placing the logo on a solid white or very light container, often a circle or rounded square, because that separates it cleanly from the matrix and creates a predictable interruption. This is one reason many successful branded QR codes from Starbucks, Coinbase, and consumer packaged goods brands use a distinct center badge rather than dropping the raw logo directly onto modules.
One more practical point: do not rely on the logo to communicate the destination. Users decide whether to scan partly based on trust, but they still need context nearby, such as “Scan to view menu,” “Verify product authenticity,” or “Download setup guide.” In mobile UX tests, branded codes with a clear call to action consistently outperform unlabelled decorative codes, even when both scan equally well.
Printing, mobile environments, and real-world failure points
Many logo QR failures are not caused by the logo alone. They happen because design decisions combine with production and environmental conditions. On glossy packaging, overhead light can create specular highlights that wash out modules. On corrugated boxes, surface texture breaks clean edges. On curved bottles or cans, perspective distortion compresses one side of the code. On small labels, ink gain thickens dark modules and shrinks light gaps. Each issue reduces the scanner’s margin for error, which means a logo that seemed acceptable in a PDF proof becomes the final trigger for failure.
Distance and camera behavior matter just as much. Users rarely hold phones perfectly still or square to the code. Older Android devices may use weaker autofocus or slower exposure adjustment than current flagship phones. Native camera apps also differ in how aggressively they preprocess an image before decoding. In field testing, I have seen a code scan instantly on an iPhone 15, hesitate on a mid-range Samsung, and fail on a warehouse handheld under sodium lighting. That variation is why scanability standards should be based on the weakest realistic device, not the best one in the design studio.
Placement can either protect or undermine the code. On posters, avoid mounting branded QR codes below reflective lamination seams. On menus, keep them away from folds and condiment spills. On product packaging, leave room from edges, perforations, and mandatory legal copy. For out-of-home use, increase physical size well beyond the minimum because users scan from inconsistent distances and angles. A common rule of thumb is roughly one inch of code width for every ten inches of scanning distance, then adding extra margin for motion and poor light.
Testing workflow for logo QR codes before launch
The most dependable workflow starts with generating a short dynamic URL, selecting Q or H error correction, and creating a plain black-and-white control version first. If the unbranded code struggles at target size, branding will not fix it. Next, add the logo conservatively, preserve the quiet zone, and produce print-accurate proofs rather than judging only on a high-resolution monitor. Screen previews hide many problems because module edges stay crisp and backlighting boosts contrast.
Then test systematically. Use at least iPhone Camera, Google Lens, and two native Android camera apps from different manufacturers. Test in bright daylight, office light, and low indoor light. Test from expected distances and at slight angles. Print on the actual substrate if possible, including matte, gloss, label stock, cardboard, or fabric signage. Track first-scan success rate, time to scan, and any devices that require repeated attempts. In mature teams, I set a pass threshold such as near-universal first or second attempt success across representative devices before approving production.
Analytics close the loop after launch. Dynamic QR platforms such as Bitly, QR Code Generator Pro, Flowcode, and Uniqode can report scans by time, device, and geography. If a branded code underperforms compared with a plain variant in the same channel, the design may be suppressing use even if it remains technically scannable. A/B testing can reveal whether the logo improves trust enough to offset any friction. The strongest programs treat QR branding as measurable UX, not subjective decoration.
What to remember when branding QR codes at scale
Using logos in QR codes successfully comes down to discipline. Keep the data payload short, use higher error correction when branding is added, protect the quiet zone, maintain strong contrast, and keep the logo modest and centered. Increase physical size before increasing design complexity. Most importantly, test on real phones, in real light, on real materials. That is how you protect scanability while gaining the recognition benefits of branding.
For teams managing packaging, retail, events, menus, or direct mail, the payoff is practical: better trust, cleaner design systems, and stronger campaign performance without sacrificing usability. Treat the QR code as part of your mobile UX, not just a graphic element, and your branded codes will work harder across every touchpoint. Use this hub as your starting point, then apply these standards to every branded QR code you publish.
Frequently Asked Questions
Can you put a logo in the middle of a QR code without making it unscannable?
Yes, but only if the logo is added with restraint and the QR code is built to tolerate that interruption. A QR code is not just a graphic pattern; it is a machine-readable data grid with specific structural elements that scanners rely on to detect orientation, alignment, timing, and encoded content. When you place a logo in the center, you are intentionally covering some of that data. The reason this can still work is that QR codes include error correction, which allows a portion of the symbol to be damaged, obscured, or stylized while remaining readable.
That said, error correction is not a free pass to cover as much area as you want. The more data the code contains, the denser the pattern becomes, and the less room there is for visual experimentation. A small URL encoded into a larger QR version with higher error correction gives you more flexibility than a long URL or a code carrying lots of data directly. In most cases, the safest approach is to keep the logo relatively small, place it in the center away from the corner detection patterns, and preserve strong contrast between the dark modules and the light background. You should also maintain the quiet zone, which is the blank margin around the symbol, because scanners use that space to isolate the code from its surroundings.
The practical rule is simple: a logo can improve branding and trust, but it should never compete with the QR code’s primary job, which is to scan instantly. The best branded codes are the ones that still behave like standard QR codes under real-world conditions such as glare, low light, older phone cameras, angled scanning, and print imperfections. If a logo makes the design more attractive but less dependable, it is too large or the overall styling has gone too far.
How large should a logo be inside a QR code?
There is no single universal percentage that works for every QR code, because the safe logo size depends on the amount of encoded data, the error correction level, the physical print size, and the scanning conditions. Still, from a practical design standpoint, smaller is almost always safer. A compact logo that is visually clear without covering too many modules is far more reliable than a large, dominant brand mark that removes too much of the data area.
In general, the logo should occupy only a modest central portion of the code, and there should be some breathing room around it rather than forcing the logo right up against the surrounding modules. Designers often make the mistake of scaling the logo based on how prominent they want the brand to appear instead of how much obstruction the code can tolerate. That is backwards. Start with the QR code’s functional limits, then fit the logo within them. If the mark includes fine details, small text, or a complicated icon, simplify it rather than enlarging it.
It is also important to think beyond the digital mockup. A logo that looks small enough on a large monitor may behave very differently once printed on product packaging, a restaurant table card, a direct mail piece, or a retail sign viewed from several feet away. Ink spread, low-resolution printing, surface texture, and environmental reflections can all reduce scan reliability. The right workflow is to generate the code with an appropriate error correction level, apply the smallest effective logo, and test it at the final intended size and placement. If it scans immediately across multiple phones and lighting conditions, the logo is probably within a safe range. If users need to reposition their phones or try more than once, the logo is likely too aggressive.
What design changes are most likely to break QR code scanability?
The biggest failures usually come from reducing contrast, interfering with the code’s required structural features, over-customizing the modules, or adding too much data while also trying to style the symbol heavily. A QR code needs dark modules against a clearly lighter background. When brands substitute low-contrast color combinations such as mid-gray on black, pale gold on white, or dark blue on transparent overlays, scanners often struggle, especially in less-than-ideal lighting. The design may look premium to humans while becoming ambiguous to cameras.
Another common problem is altering or obstructing the three large position markers in the corners. These are essential for helping scanners detect and orient the code. If they are restyled too aggressively, partially covered, blended into nearby graphics, or pushed too close to surrounding text and decorative elements, scan performance can drop sharply. The quiet zone is another critical area that gets overlooked. That blank border around the QR code should remain clear. Placing patterns, borders, illustrations, or background textures too close to the code can prevent scanner apps from isolating it properly.
Module styling can also create issues. Rounded dots, custom shapes, gradients, and artistic treatments are often usable in moderation, but they become risky when they reduce edge definition or create inconsistent visual weight across the symbol. The same goes for logos, frames, shadows, and overlay effects. A QR code is not a poster background; it is a utility object. Every decorative choice consumes some of the tolerance that would otherwise help the code survive poor lighting, screen glare, distance, motion blur, or imperfect printing. If you want a branded code that performs well, prioritize contrast, protect the finder patterns and quiet zone, keep the encoded content as short as possible, and test the final asset exactly as it will appear in the real world.
Does error correction make branded QR codes safe by default?
No. Error correction helps, but it does not guarantee that a branded QR code will scan well in practice. QR error correction is designed to recover missing or damaged data, which is why it is so useful when adding a logo or making moderate visual adjustments. However, that recovery capacity is limited, and it is shared across all forms of disruption. If you cover part of the code with a logo, lower the contrast, add a gradient, print on a curved or reflective surface, and shrink the symbol too much, those issues stack together. Error correction cannot fully compensate for a weak overall design.
It is also important to understand that scanability is not a binary yes-or-no issue. A code might technically scan under perfect conditions yet still be a poor performer if users need multiple attempts. In marketing, packaging, hospitality, retail, and event environments, that distinction matters a lot. A code that scans only after careful alignment, brighter light, or repeated tries creates friction and reduces response rates. Brands sometimes approve a stylized code because it works on one newer phone in the studio, only to discover later that it performs inconsistently across real users and devices.
The stronger mindset is to treat error correction as a safety margin, not a design budget to spend carelessly. Use it to support a modest logo and light customization, not to justify extreme branding. If you need a highly polished visual treatment, one of the best solutions is to encode a short dynamic URL, which reduces data density and gives the code more resilience. Then test repeatedly across iPhone and Android devices, native camera apps, third-party scanners, different distances, different print materials, and different lighting situations. That is how you determine whether the code is truly safe, not just theoretically recoverable.
What are the best practices for testing a QR code with a logo before publishing or printing it?
Testing should be treated as a required production step, not a last-minute spot check. Start by validating the QR code in its clean, unstyled form to make sure the encoded destination works correctly. Then test the branded version with the logo and any color or shape modifications. Compare how quickly each version scans. If the branded version is noticeably slower or less forgiving, that is an early warning that the customization is too aggressive even if the code still technically works.
Next, test across device types and camera conditions. Use multiple smartphones, ideally a mix of newer and older models on both iOS and Android. Try native camera apps as well as common third-party scanner apps because decoding behavior is not identical across all software. Check performance in bright light, dim indoor light, and under reflective conditions. Scan from straight on and from slight angles. Test at the expected user distance. A code on product packaging may be scanned from a few inches away, while a code on a retail display, poster, or event sign may be scanned from several feet back.
You should also test the QR code in its final production format. A code that works on a digital file may fail after printing if the size is too small, the substrate is glossy, the colors shift, or the modules blur during production. Print samples on the actual material if possible, whether that is label stock, cardboard, acrylic signage, menus, mailers, or tabletop displays. Verify that the quiet zone remains intact and that no surrounding design elements crowd the symbol. If the code will appear on curved packaging or textured surfaces, test that exact scenario rather than assuming a flat proof is enough.
Finally, pay attention to user experience, not just raw decodability. The ideal branded QR code scans quickly, predictably, and without effort. If users need to hunt for focus, move closer, tilt their phones, or try more than once, refine the design. Usually the fix is straightforward: shorten the URL, increase the code size, restore stronger contrast, reduce the logo size, simplify the styling, or give the code more clear space around it. The most effective QR codes are the ones that